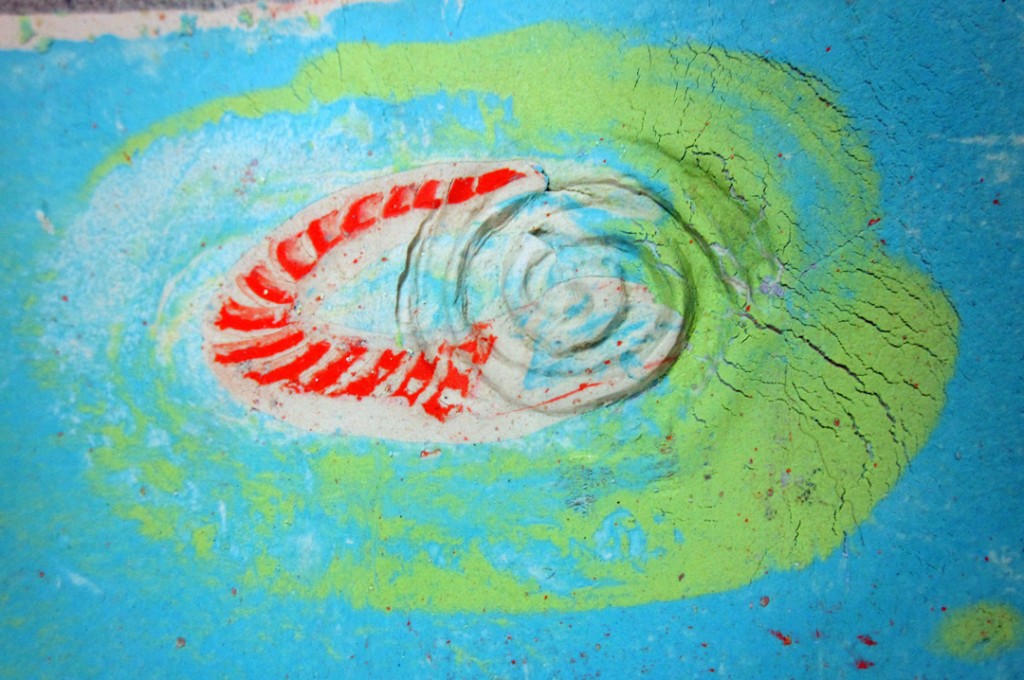
You’ve got a batch of wet colorful, marble-y, strata-fied slabs now, as a result of trying the underglaze decorating methods outlined in the previous thickly illustrated post, which is naturally titled LTSYW, Part One. What oh what can you do with them?
I have a hunch we have all just begun to see what. For that reason, I plan to relate the paltry few things I’ve done and noticed when I tried, and leave it at that. There really aren’t any appropriate Do This and Then That instructions from here on out, because the technique is wide open to expression and experimentation. I’ll throw down a few dots, but you get to connect them any way you discover. Lana Wilson – the source of this technique for me – says the same in her handouts: “Play.” “Experiment.” “Play. Play. Play.” I, too, learned by playing and wish that fun for you!

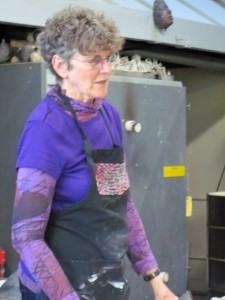
Before I leave my dotted breadcrumb trail, let’s take up what I think Lana is getting at when she calls herself “The Queen of Low Standards.” First, it infuses a workshop atmosphere with relaxation, fun and the gifts of imperfection. She says it more than once in the course of several hours, for tension-releasing laughs, for instant forgiveness when a demo goes awry, for purposely scrambling off the pedestal of know-it-all ceramic expert which some might have placed her on. Yet Lana is clearly conversant in the technicalities and artistry of her field. Her fingers move deftly and with intelligence. She’s as comfortable presenting a full day of hows and whys and stories to match as she is forgetting the specific word for a glaze fault. And if the audience can’t supply it, she pops it out sometime later. A clear pro at work.
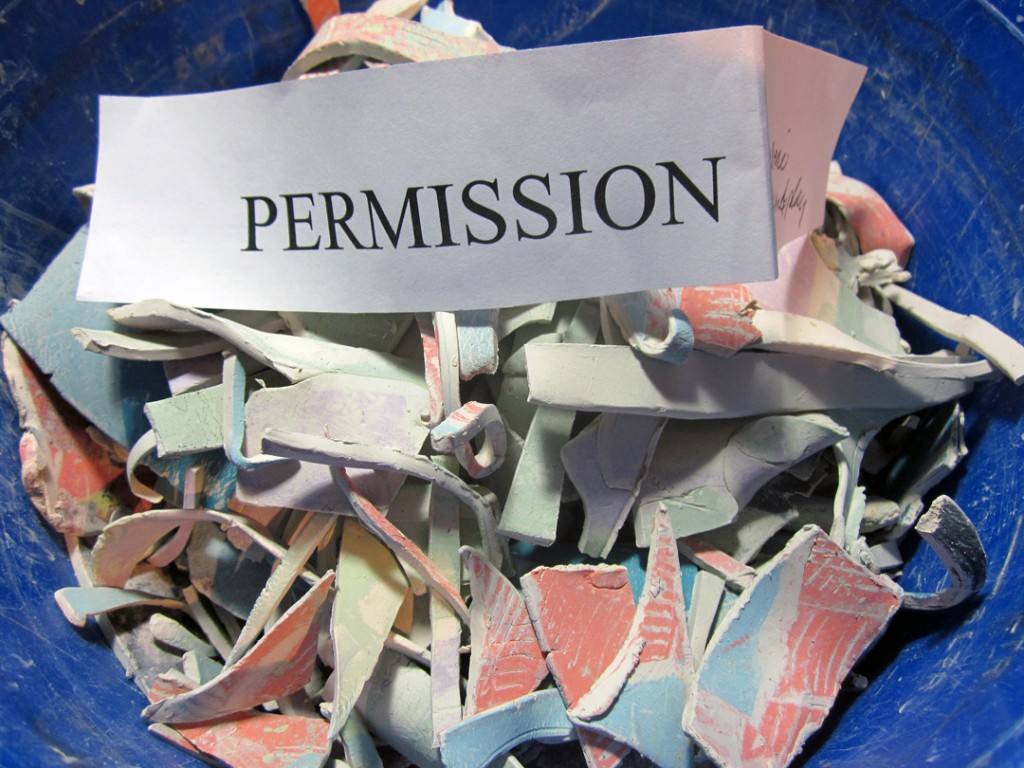
There is no Fourth Wall with Lana, though; you’re in the soup with her. Pretzel logic. Crazy Wisdom. Magnetic PERMISSION. She actually handed out strips of paper with the word “Permission” on them and invited us to write down what we wanted permission to do or think or try. And voila!, we had the Permission Slip for it. The Queen is benevolent! But about those Low Standards? My guess is that keeping the way into the work accessible unlocks the largest amount of joyful possibilities and provides access for the diverse pantheon of Muses, not just those of Ultimate and Objective Perfection (if they even exist beyond our timidity!) Once we’ve allowed ourselves to play in that way, THEN we can begin to sharpen our skills, get technical, learn from our mistakes, become conversant with how this method works for us.

Back to those slabs! Here are some things I’ve learned about them when I played around.
Good to Know:
There are all kinds of ways to amend your patterns while the clay is still flat.
You can add more color if you like, probably not too wetly.
You could stamp light textures, carve lines, or roll thin scraps on top to emphasize areas.
You could even carve out “worms,” turn them over, switch them around (on both sides!) (Lana’s fun idea; she calls them fossils.)
Rolling your added textures and additions smoothe is a good idea. It sets the designs and creates a unified surface.
There is range of optimum workability when the clay still bends without cracking: pretty darn wet to “mozzarella” hard.
Thinner rolling = more stretching/fading/abrading of colors.
Patterns or templates for your planned creations might be a good idea. Lana used a tile cutter with an ejector!
It’s good to work rather deftly – ala Lana, with a light-handed clarity of purpose. What do you like to do with slabs? Try it!
Simple joins, overlapped or beveled, pressed and perhaps lightly paddled are good. Add water before attaching, if you’re so moved, but that’s it.
You might need to support your creations’ seams and walls until they set up.
Excess handling, too much water or tooling, fussy appendages: all impact the still-damp patterned underglaze and can smear, erase and create an overworked feel.
You can paint bare cut edges, say at the top of a cylinder, with a line of underglaze to complement your marbling. Lana showed us black edges which are snappy.
Alternatively, make some very thin strips and create a rolled edge. Attach with water, press well.
Dry slowly, bisque slowly, just ’cause.
You can amend with more color and washes after bisque, when the first colors are set.
Clear glaze, especially a transparent matte, looks great.
I’ve also used colored pencils, Pitt ink pens and clear acrylic satin medium to seal non-functional and purely decorative work.
All your remaining wet clay scraps have interesting new possibilities too.
Enjoy this process and make fun stuff! Happy New!
~Liz Crain, who’s found a jazzy new way to play with clay – and since her word for 2013 is “Synthesis” is excited to see what comes about when she incorporates it into the vintage faux metal work she’s done for several years now.