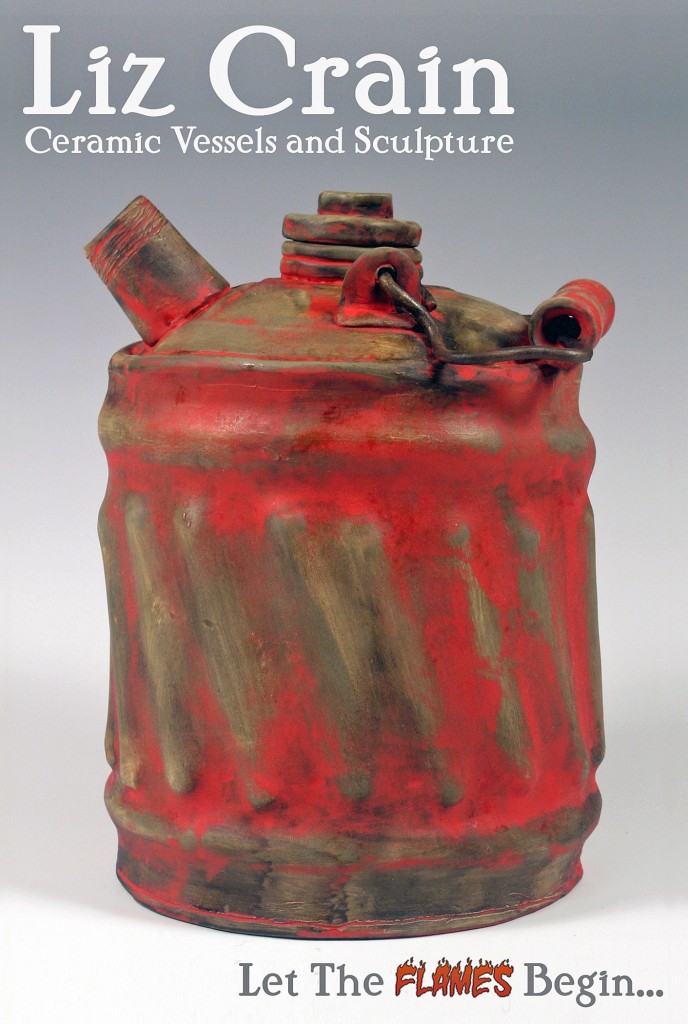
UPDATE: This sad tale of ceramic breakage with a happily-repaired ending was first published January 21, 2012. I DID make the hangtags I refer to within, but I wound up keeping this sentimental piece. It deserved a good home: mine!

UPDATE: This sad tale of ceramic breakage with a happily-repaired ending was first published January 21, 2012. I DID make the hangtags I refer to within, but I wound up keeping this sentimental piece. It deserved a good home: mine!
Notice I only said How and not Why.
If you’re thinking of real gravel for your real aquarium, the Why becomes problematic. Why do that when it will take a full workday plus overtime to grind enough gravel to fill a ten gallon tank to two inches? Why ever do that when there are unknown toxicity issues with underglaze and oxide colorants that your prize fish may demonstrate by dying on you?
No, this gravel-making is a completely sculptural endeavor of my own device. It’s one item of many spurred by the Cabrillo College Ceramics Department’s proposed installation at the annual California Conference for the Advancement of Ceramic Art held in Davis, CA at the end of April.
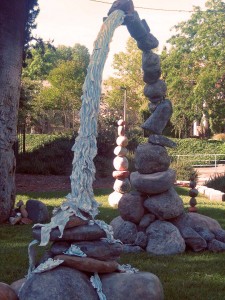
We’re following up our fantabulous 2010 Cabrillo Rocks Portal installation -pictured above – with a life-sized out-on-the-lawn trompe l’oeil ceramic Yard Sale! Folks are right this minute working on fishing gear, globes, games, toys, linens, shoes, hats, bags, skateboards, dolls, a bake sale and then whatever else we can concoct between now and then.
I’m offering a used aquarium set-up: a real aquarium with clear glass, but with the frame painted white (like all our tables, shelves and props will be) and everything else in it ceramic. I plan delicious tongue-in-cheesy mermaids, sunken ships, broken Greek columns…along with faux warped and stained cardboard boxes containing the pump, heater, filter, and canisters of fish food, medicines and a net. A complete mock set-up! Just needs fish and water. $30 OBO.
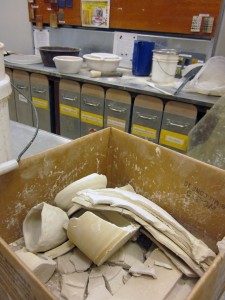
Hence the gravel. It’s important to the faux-y integrity of the piece for me to make my own. But HOW???? My first approach was to bust up bisqueware with a hammer. Too hard. Too sharp. Too uncontrollably uneven. It’s much easier to chunk up potato-chip brittle bone dry clay – which is essentially “dust held together by memory” according to one wise kiln tech I have known.
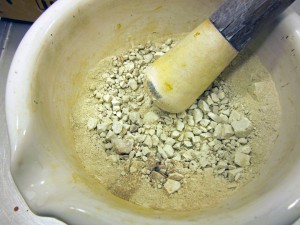
I used a mortar/pestle in the clay lab, but started with the densely heavy 10kg weight as shown below.
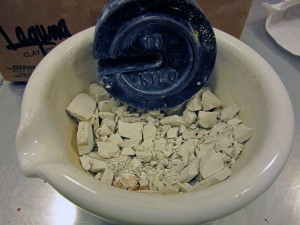
Then came the pestle which got the pieces to a mix range of pure dust to pea gravel sized.
Next, a trip through a series of fine to coarse strainers and meshes straight out of my kitchen. Put the gross chunks through a fine sieve to get rid of the dust and too-teensy bits, pour what’s left onto a pizza screen and shake. The perfect size falls through!
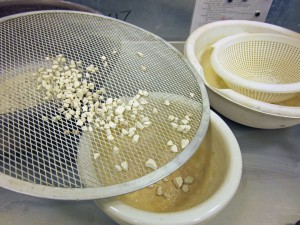
Continue to crunch up the leftover big pieces, then sieve, screen and shake a few more times. Sieve the inevitable dust out of the desired gravelly size and collect in buckets until there is enough volume to acceptably fill the tank. Plan on around ten hours of this in order to have enough volume, factoring in the clay body shrinkage.
Also factor in sore shoulders, upper back and arms, temporarily-impaired hearing from hours spent in the drone of the glaze room’s exhaust fan, and the gag factor from wearing a particulate mask until the creases in your face are nearly time-worn. All pretty unavoidable.
I’m pleasantly aware that making gravel this year is an act of “decomposition” regarding last year’s rocks and am lovin’ the strange parallel.
In the next-related post on this topic: garishly coloring this gravel and making tired boxes and whatever else has come up.
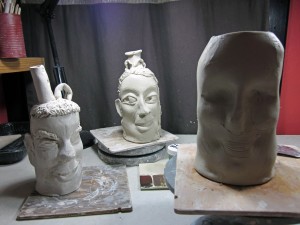
A new series of face jugs has begun! Similar to the Local Talkers 2009 in that they are based on the faces appearing in the 2011 Local Talk column of the Santa Cruz Good Times, but different because each one is full-sized and meant to be a stand alone work.
I’ve lifted some of the limits I placed on myself in 2009, in that I can choose one or more faces/respondents a week, or none. And I can base my choice on expression and/or on what the person says.
Each jug is stamped with that person’s first name, last initial and one word of their reply to the question of the week. In the top photo are, left to right, Cecil U. Stopped, Kate K. Y and what eventually became Nicole B. Amphitheatre.
Here she is at leatherhard before being cleaned up and getting the base coat of underglazing.
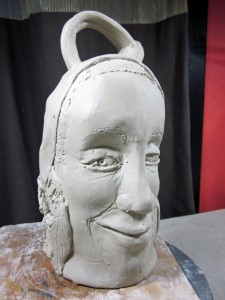
And just for fun, here’s a close up of the source face.
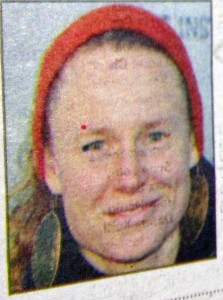
For me it’s not about creating a photographic likeness, but an energetic and gestural one. The clay jug form has its own demands that must be served. The cylinder needs to balance in all ways. It can only stretch so far. It can’t get too heavy with add-ons. (Hair!!!!) It needs to function as a vessel, although I’m finding I care less and less about that as I go deeper into sculptural expression. I just might be getting to the same place as sculptural teapots which are generally full of narrative and SO not meant to be used for serving tea!
I am keeping better studio records this time too. Here’s the page so far for Cecil U. Stopped.
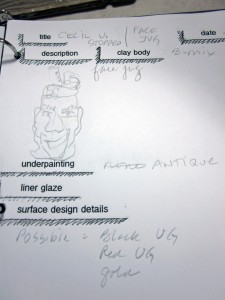
So, that’s my Studio Report at the outset of one thematic series I will be exploring this year. The face jugs provide a looser more organic foil to the other works I’ve got going and I like that I get to find my way from the plain cylinder to the character waiting to take form.
So The Plan was this: trade a piece of my art for one of Karen Koch’s and alter it mightily as in Erased DeKooning by Robert Rauschenberg. (You who need the thrilling and informative backstory are encouraged to see Karen’s blog and my previous post, the one just before this one, which will connect you to the other two previous posts…so just scroll down…as always, I’ll be right here when you get back!)
I have concocted this lidded ceramic container recalling some of the shapes and textures of both my work (the Soap Bubble bottle) and Karen’s. It has been bisque-fired and is ready for more decoration. My plan was to add colors and patterns not to exactly replicate Karen’s lovely little piece, but to riff off of it in 3D. Could I do that with the decidedly less-wieldy underglazes?
Apparently not. My first brushings were tentative AND pretty ham-handed, if that is possible! I hated them. But the hate was well-utilized because, all of a sudden, I remembered that DeKooning spent eons scraping his paint off of his surfaces, painting more and applying absorbent newspapers, and scraping and applying, scraping and applying. Thank You, Willem! I just got creative permission to do less than rinsing it all off and starting over, but to do more than piling on more colors in hopes it would get better.
Enter the sanding screen as seen in the first photo up top. I LOVE this thing! It makes Instant Old surfaces. Off I went outside with a mask (because you don’t want to breathe ceramic-anything dust) and ever so lightly and randomly scraped and altered the surface I had thickly painted.
It got better! I started to feel the rhythms of Karen’s piece, titled Purple Music. I thought about music. I wondered what Karen was listening to when she made it. (Karen?) I put the Real Jazz station on the satellite radio, literally caught the vibes, and painted and scraped and scraped and painted.
Eventually I broke out the underglaze chalks and pencils. Betchadidntknow they had those, right? For we who love that dry, calligraphic surface, they are heaven. AND they smudge good, too! The bottom photo shows the piece nearly done. It is altogether more playful and rhythmic and totally has the effect I was wanting. Whew!
So, I leave us right here with just a few more steps to go: clear glaze wash and the final firing, with an important twist in the works. Stay tuned, kids!