POST UPDATE: This post was originally published on September 3, 2009. I am repeating it because it is just one of those ideas which need to circle round every five years or so and it’s a bit overdue. I still have all of the caddies I made seven years ago, going strong and serviceable. Whenever I have one with me in a class or workshop, folks want to know more. I wound up taking copies of the instructions to give the serious inquirers. I did make an industrial-sized caddy and it’s great for holding bigger stuff: rulers, dowels, long-handled anythings. Hope you enjoy yours.
Original Post:
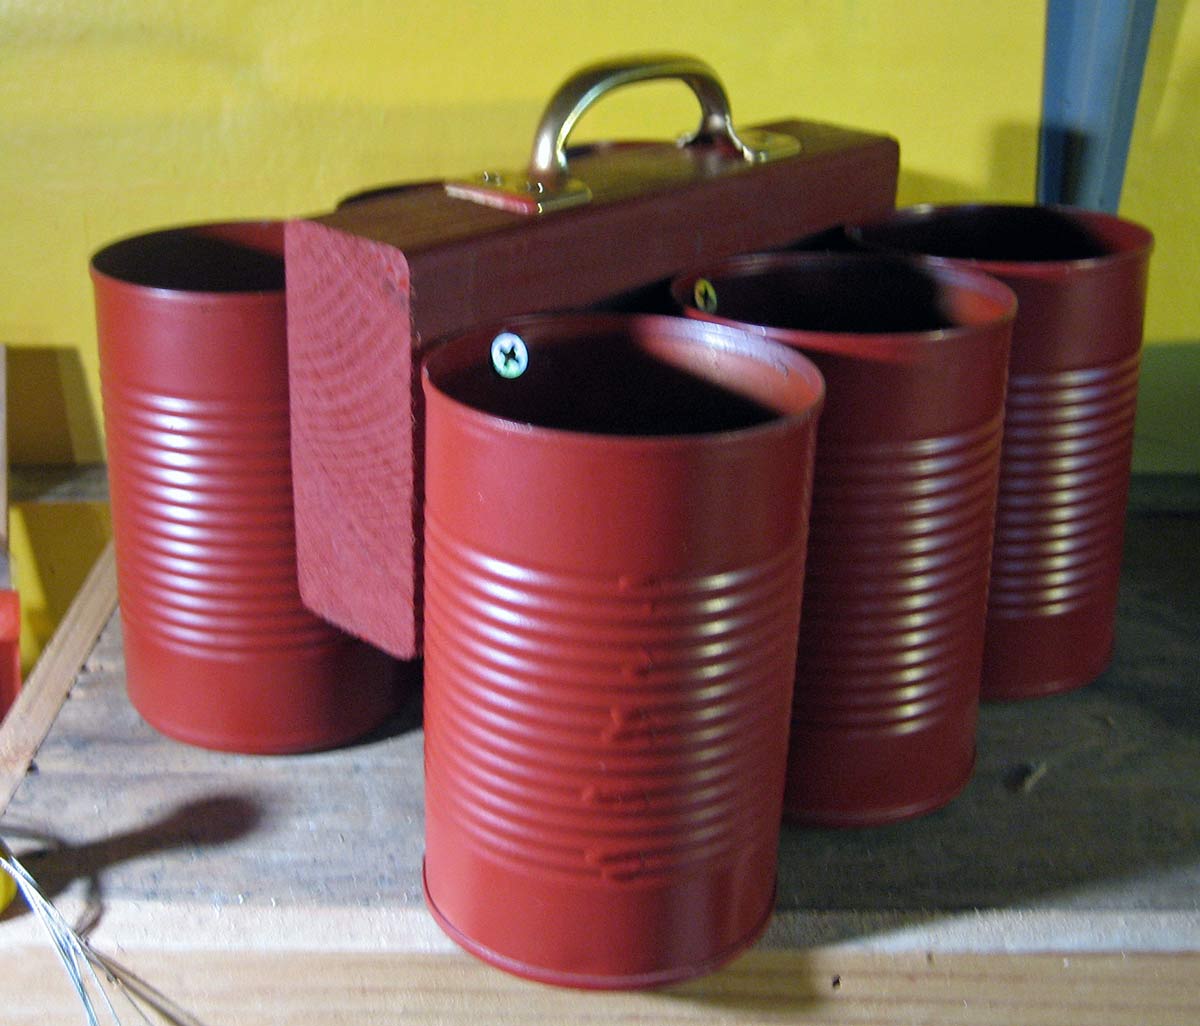
If you’re as much of a tool geek in your art as I am in mine, you most likely need a Soup Can Tool Caddy, so this post is for you and you and YOU! (And for word-wrangler Cynthia Morris who has admitted she just likes to say, “Soup Can Tool Caddy.”)
I wish I could claim I dreamed up this drop-dead obvious assemblage of simple, cheap and recycled things, but I can’t. All I know is the day I saw it in the Suggestions From Readers column in the January, 2005 issue of Ceramics Monthly magazine, I knew I was gonna make it.
The original parts list and instructions came from Michell Follett of Oakland, CA. There’s definitely no ‘e’ at the end of Michell, and I found her once on Facebook: She’s sitting at her wheel, gesturing with a collapsed pot. Ya gotta love a potter with a funnybone!
I can’t find a link to the original blurb, but it’s short, so I will re-type the heart of it.
Take it away, Michell:
Parts List
six 15oz. aluminum cans, labels removed
six 3/4 inch screws
one 1 1/2x3x9 inch piece of wood [My Note: Scrap 2x4s (techically known astubafors)…I have used shorter, just make sure it will span the row of three, mid-can to mid-can.] one 6 1/2 inch zinc-plated pull (handle) [My Note: Shorter is OK here too] one can of Rustoleum spray paint.
Easy Instructions
Spray the cans (inside and out) and the wood with Rustoleum. Attach three cans to each long side of the wood (it helps to pre-drill holes in wood and cans.) Insert screws at an angle. Attach pull to top of wood.
Long-time Maker/User Comments from Me
I had the most difficulty getting it level, cuz I’m not that handy, really, so just spend a tiny bit of extra time lining things up before attaching.
If you plan to store anything wet, it wouldn’t hurt to punch a small hole in the bottom of each can for drainage.
If you’re at all concerned, of course you can re-spray if the paint gets worn.
So, in Full Disclosure, here’s how far it has gone for me:

And, Necessity being the Mother it is, this is my most recent addition to the fold, made from larger around, but shorter Trader Joe’s Premium Chunk White Chicken cans:

Got any fun-sounding titles for the new one? L’il Chunky, or The Chicken Caddy?
For that matter, got any other interpretations in size/function? What about one from industrial, food service, Costco-sized containers?
I know for sure that if you make just one, the tools you have will be more easily findable and portable. And the magical-thinking part of me intuits that making one extra will attract all the other tools you want. Start rinsing out those cans!
–Liz Crain, who likes a simple thing done well.
[…] Liz Crain Ceramics: Soup Can Tool Caddy […]
Am I missing something here? Are those actually painted tin cans and not thin-walled thrown ceramic cylinders? I’m disappointed in you! Ha!
Syd, that’s funny. And you just gave me a new idea!
How cool! You win the prize for the most creative thing I've seen all week. Oh, I know it's only Tuesday but I think you'll carry the creativity belt through the week.
Nice job – great writing and photos!
I am way glad you all are finding this tool caddy idea useful! Send me photos or blog about it yourself when you make one…or two…or more!
This is a wonderful idea. In fact, I have an idea for a modified version which could help en plein aire artists. I'll have to mock one up to see how it works.
Thanks for sharing.
This is SO GREAT! I can't believe that I have never seen this before. Now I need a few…one for the print shop, one for the painting studio, one for the plein air box…oh, my!
Your blog looks great, too. I love the color choices and the layout; they work together very well.
Deb Strong Napple
Deb's blog